Dealing with Rust and Corrosion on Music Box Components
Vintage musical boxes are intricate treasures, filled with delicate mechanisms and often beautiful artistry. However, time and exposure to the elements can take their toll, with rust and corrosion being among the most common and damaging issues. These afflictions can seize gears, pit metal surfaces, and ultimately silence the music. While daunting, dealing with rust and corrosion on your antique musical box is often manageable with patience, the right tools, and a careful approach. This article will guide you through the process, providing step-by-step instructions for safe and effective removal, and preventative measures to protect your restoration.
Understanding the Enemy: Rust vs. Corrosion
While often used interchangeably, rust and corrosion are distinct processes. Rust specifically refers to oxidation of iron or steel – the familiar reddish-brown flaky substance. Corrosion is a broader term encompassing the deterioration of any metal due to chemical reactions, including oxidation, but also reactions with acids, salts, and other substances.
On musical boxes, you're likely to encounter both. Rust will be prevalent on iron or steel components like gears, levers, and sometimes the case itself. Corrosion might manifest as a dull film on brass or bronze parts, often caused by contact with acidic cleaning agents or exposure to salty air.
Common Areas to Check:
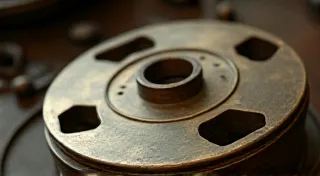
- Gears: These are crucial for the music box's operation and are highly susceptible to rust.
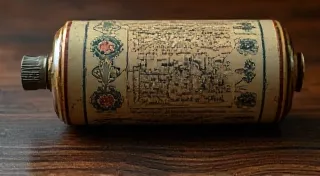
- Cylinders & Combs: The pins on cylinders and the teeth on combs can corrode, impacting sound quality.
- Springs: Rust can make springs brittle and prone to breakage.
- Case Hardware: Hinges, clasps, and decorative elements are often vulnerable.
- Movement Supports: The metal frame or supports that hold the movement together can corrode.
Image: 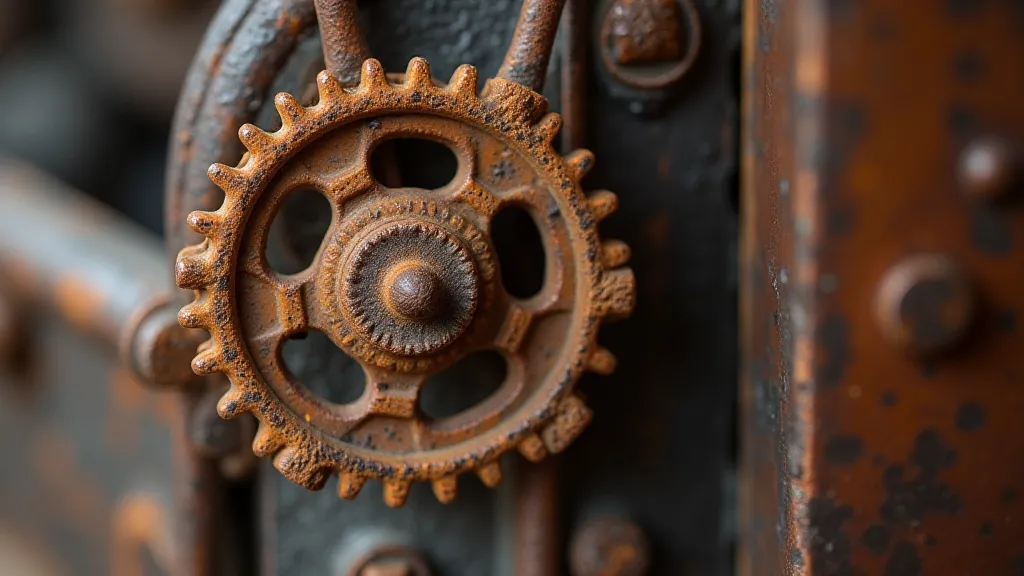
Tools and Materials for Rust and Corrosion Removal
Before you begin, gather the necessary tools and materials. Safety is paramount; always wear gloves and eye protection. Here's a basic list:
- Gloves: Nitrile or latex gloves to protect your skin.
- Eye Protection: Safety glasses or goggles.
- Small Brushes: Soft-bristled brushes (artist's brushes work well) for cleaning.
- Cotton Swabs: For precise cleaning in tight spaces.
- Solvents: (Choose carefully – see below!)
- Fine Files/Needle Files: For removing stubborn rust and corrosion.
- Magnifying Glass: Essential for detailed work.
- Rust Converter (optional): To chemically convert rust into a stable compound.
- Protectant/Lubricant (optional): To prevent future corrosion.
Choosing the Right Solvent
The choice of solvent depends on the metal and the severity of the corrosion. Start with the mildest option and escalate if necessary.
- Warm Water & Mild Soap: A good starting point for lightly corroded surfaces.
- White Vinegar: A mild acid that can dissolve rust. Dilute with water.
- Isopropyl Alcohol (IPA): Excellent for degreasing and removing surface corrosion.
- Mineral Spirits: Effective for dissolving grease and grime.
- Citric Acid Solution: A slightly stronger acid; dilute with water.
- Commercial Rust Removers: Follow manufacturer's instructions carefully; some can be harsh.
Step-by-Step Rust & Corrosion Removal
- Disassembly (Cautiously!): If possible, disassemble the affected components. This allows for targeted cleaning and prevents damage to surrounding parts. Photograph each step to aid in reassembly. If you're not comfortable disassembling, focus on the accessible areas.
- Initial Cleaning: Begin with warm water and mild soap. Scrub gently with a soft brush to remove loose dirt and debris.
- Solvent Application: Apply your chosen solvent to the affected areas. For vinegar or citric acid solutions, soak the components for 15-30 minutes, checking periodically. For other solvents, apply with a cotton swab or brush.
- Mechanical Cleaning: Use fine files or needle files to gently remove stubborn rust and corrosion. Work slowly and methodically, avoiding deep scratches. A magnifying glass is crucial here.
- Rinsing & Drying: Thoroughly rinse the cleaned components with distilled water to remove any residue from the solvent. Dry completely with a soft cloth.
- Rust Converter (Optional): If significant rust remains, apply a rust converter according to the manufacturer's instructions. This converts the rust into a stable, paintable surface.
Image: 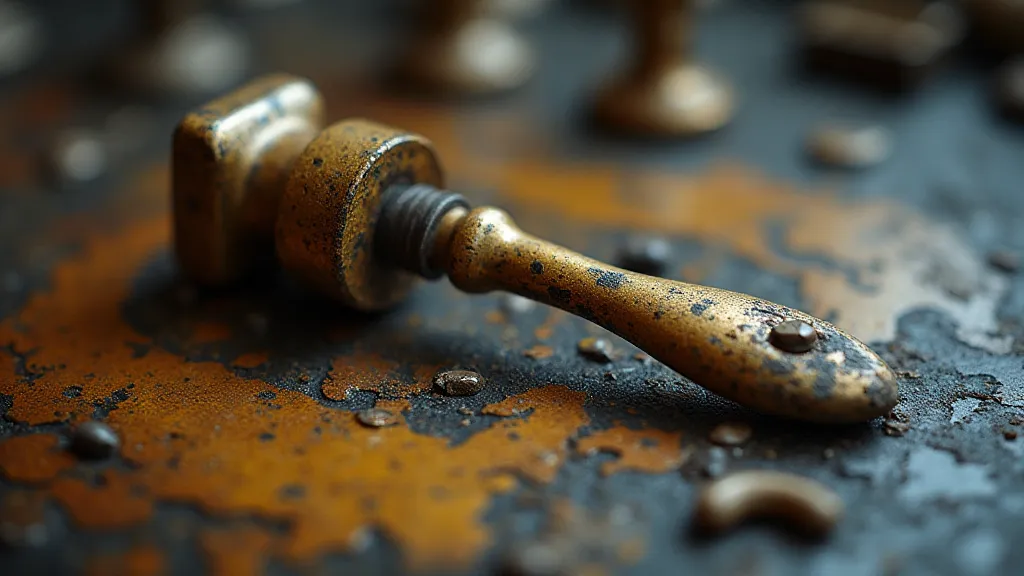
Prevention is Key: Protecting Your Restored Music Box
Removing rust and corrosion is only half the battle. Preventing future damage is crucial for preserving your restoration. Here are some preventative measures:
- Clean Regularly: Gently dust and clean your music box periodically with a soft cloth.
- Control Humidity: Store your music box in a cool, dry environment. High humidity accelerates corrosion.
- Lubrication: Lightly lubricate moving parts with a specialized clock oil.
- Protective Coatings: Consider applying a thin layer of wax or lacquer to exposed metal surfaces.
- Storage: When not in use, store your music box in a protective case or bag.
Special Considerations for Delicate Components
Certain components, like the cylinder and comb, require extra care. These are often more brittle and susceptible to damage.
- Cylinders: The pins on cylinders are easily bent or broken. Avoid aggressive cleaning methods. Use a very fine brush and mild solvent.
- Combs: The teeth on combs are thin and fragile. Gentle cleaning is essential. Avoid bending or breaking the teeth.
Image: 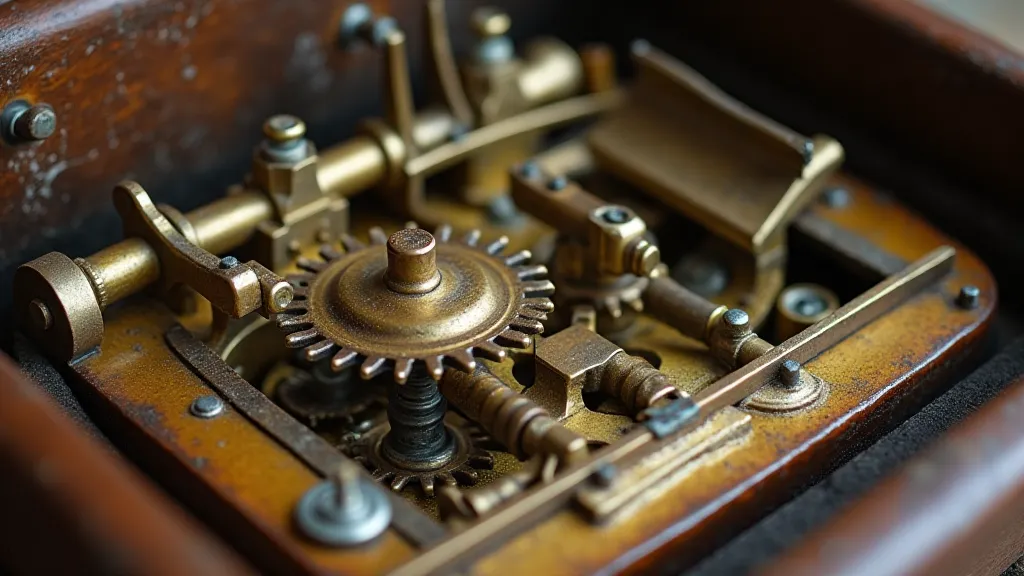
Conclusion
Dealing with rust and corrosion on vintage musical boxes can be a rewarding experience. With patience, care, and the right techniques, you can restore these beautiful instruments to their former glory and ensure they continue to delight generations to come. Remember to always prioritize safety, document your progress, and enjoy the process of bringing a piece of history back to life.