Replacing a Broken Comb: A Detailed Restoration Guide
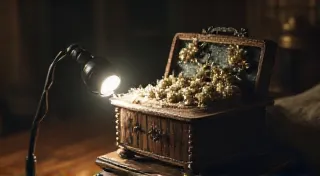
Replacing a broken comb is a common restoration task for vintage musical boxes. These delicate mechanisms, responsible for producing the enchanting melodies we associate with these antiques, are surprisingly fragile. A broken comb can silence a musical box completely, making replacement a crucial step in bringing it back to life. This comprehensive guide will walk you through the entire process, from identifying the problem and sourcing a replacement comb, to the careful and precise installation required for a successful restoration. We’re aiming for a music box that plays beautifully and remains structurally sound for years to come.
Understanding the Comb and its Role
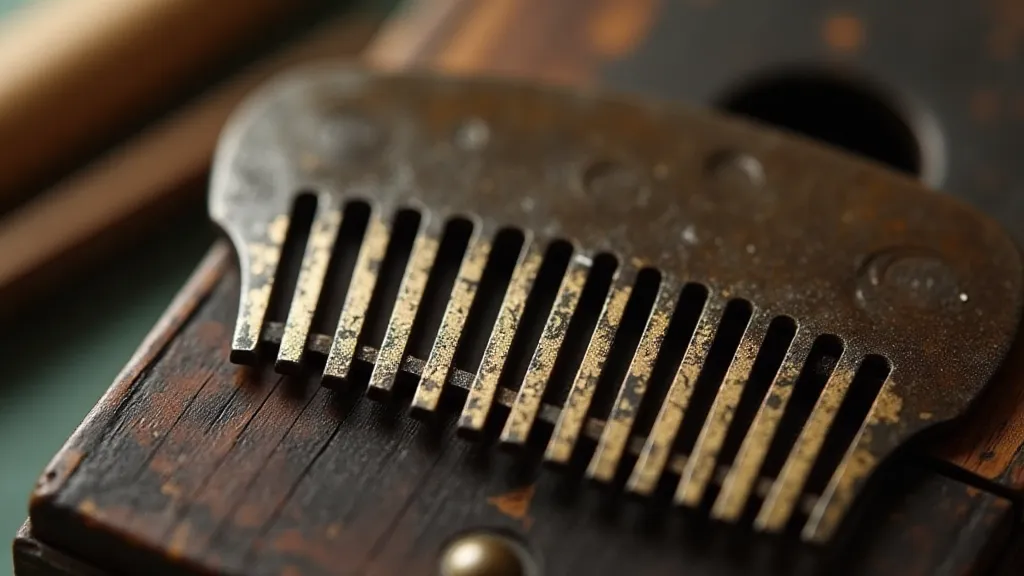
Before diving into the replacement process, it’s essential to understand the comb's function. The comb, typically made of steel, brass, or occasionally other metals, acts as the "voice" of the musical box. Its teeth are precisely tuned to vibrate when the cylinder (or disc) passes over them, creating the recognizable melody. Each tooth is carefully shaped and spaced to produce a specific note. When a comb breaks, it’s often due to age, corrosion, metal fatigue, or physical damage. Even a single broken or deformed tooth can significantly impact the sound quality or even prevent the music box from playing at all. The beauty and complexity of these instruments can be deeply appreciated when understanding the intricacies of their construction and the vital role each component, including the comb, plays in creating those wonderful melodies. Exploring the history of musical box tunes and their various forms can add another layer of enjoyment and understanding – see “Identifying Music Box Tunes: A Guide to Melodies and Rolls” for more information.
Identifying the Problem & Assessing the Damage
The first step is a thorough examination of the comb. Visually inspect it under good lighting, using a magnifying glass if possible. Look for:
- Broken Teeth: The most obvious issue, these will be clearly missing or snapped.
- Deformed Teeth: Teeth that are bent or flattened can still affect the music box's tone.
- Corrosion: Rust or other corrosion can weaken the comb and contribute to breakage.
- Cracks: Often difficult to spot, cracks can lead to further breakage.
- General Weakness: A comb that feels brittle or easily flexes is likely weakened by age.
It's vital to determine the extent of the damage. If only a few teeth are damaged, repair *might* be an option (though this is often difficult and risks further damage). However, for significantly broken combs, replacement is generally the best course of action. Also note the type of comb. Is it a pinned comb (teeth secured by pins) or a pinned over comb, as this will impact the removal and installation process. Preserving these antique pieces requires a delicate approach, not only in their restoration but also in understanding their history and the communities that support them – discover more about where to find resources and connect with fellow enthusiasts in "Resources for Antique Music Box Enthusiasts: Clubs, Forums, and More."
Sourcing a Replacement Comb
Finding a suitable replacement comb can be challenging. Exact originals are rare, but approximations are often available. Here are your options:
- Specialized Suppliers: There are suppliers who specialize in musical box parts. These are your best bet for finding a comb that closely matches the original in terms of material, tooth count, and shape.
- Online Auction Sites: Keep an eye on auction sites; sometimes, people sell spare parts from other musical boxes.
- Antique Dealers: Antique dealers who specialize in musical boxes may have spare parts available.
- Fabrication: If no suitable replacement can be found, consider having a new comb fabricated by a skilled metalworker. This requires providing them with precise measurements and a sample comb (if possible).
Important Considerations When Sourcing:
- Tooth Count: This is absolutely critical. The replacement must have the same number of teeth as the original.
- Material: While steel is common, brass or other metals might have been used. Try to match the original material.
- Tooth Shape: The shape of the teeth influences the tone. A close match is ideal.
- Dimensions: The overall length and width of the comb must be compatible with the musical box's mechanism.
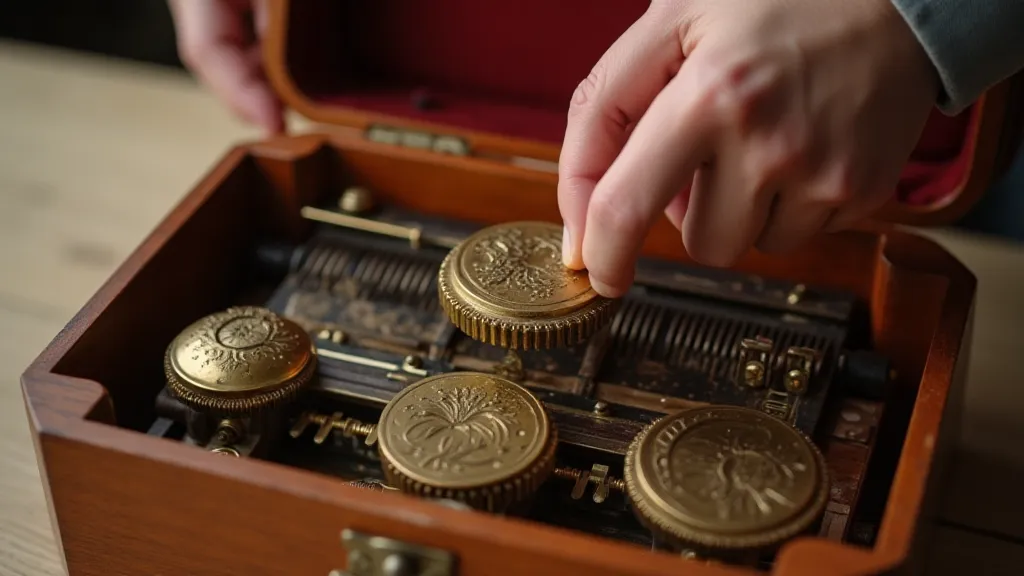
Removing the Old Comb
Removing the old comb requires a delicate touch and a methodical approach. It’s crucial to avoid causing further damage.
- Secure the Musical Box: Ensure the musical box is stable and well-supported.
- Disassemble Carefully: Disassemble the musical box to access the comb. This will require referring to specific repair manuals or schematics for your model. Take detailed photographs as you go, so you remember how everything fits back together.
- Identify the Fastening Method: Observe how the comb is secured. It might be held in place by pins, clips, or a combination of methods.
- Remove the Pins/Clips: Carefully remove the pins or clips holding the comb in place. Use appropriate tools, like small pliers or tweezers. Avoid forcing anything.
- Ease the Comb Out: Once the fasteners are removed, gently ease the old comb out of its housing.
Caution: If the comb is heavily corroded, it might be difficult to remove. In such cases, penetrating oil (applied sparingly) might help, but be extremely careful not to damage other components.
Installing the New Comb
Installing the new comb is essentially the reverse of the removal process, but with extra attention to detail.
- Test Fit: Before securing the new comb, do a dry fit. Ensure it sits correctly in the housing and aligns properly with the cylinder or disc.
- Secure the Fasteners: Reinstall the pins or clips that hold the comb in place. Make sure they are securely fastened.
- Alignment is Key: Double-check the alignment of the comb. It must be perfectly aligned with the cylinder or disc for the music box to play correctly.
- Initial Test: After installing the comb, perform a preliminary test. Listen carefully to the music and check for any unusual noises or skipping notes.
- Fine-Tuning: In some cases, slight adjustments to the comb’s position might be necessary to optimize the sound quality.
Post-Installation Checks & Final Adjustments
Once the new comb is installed, it’s crucial to perform thorough checks.
- Play the Music: Play the entire tune several times, listening for any inconsistencies or problems.
- Inspect the Mechanism: Check for any unusual noises or signs of stress on the mechanism.
- Lubricate: Lubricate the mechanism with appropriate musical box oil.
- Reassemble: Reassemble the musical box, carefully following your photographs and notes from the disassembly process.

Conclusion
Replacing a broken comb is a challenging but rewarding restoration project. By following these steps carefully and paying attention to detail, you can breathe new life into a silent antique and enjoy its enchanting melodies for years to come. Remember that patience and a steady hand are your greatest assets in this process. The fragility of these instruments and the dedication it takes to restore them evoke a sense of historical resonance – as eloquently described in "Ephemeral Harmonies: A Treatise on the Decay of Melody and the Resilience of Craft." Good luck!