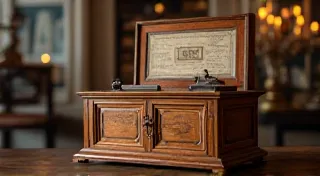
Restoring the Movement of a Reuge Music Box: A Detailed Guide
Reuge music boxes are renowned for their exquisite sound quality and incredibly intricate mechanisms. Restoring one can be a rewarding, albeit demanding, project. This guide provides a detailed, step-by-step walkthrough of the movement restoration process. Please read the entire guide before beginning, as some steps require careful consideration and the right tools.
Understanding the Reuge Movement
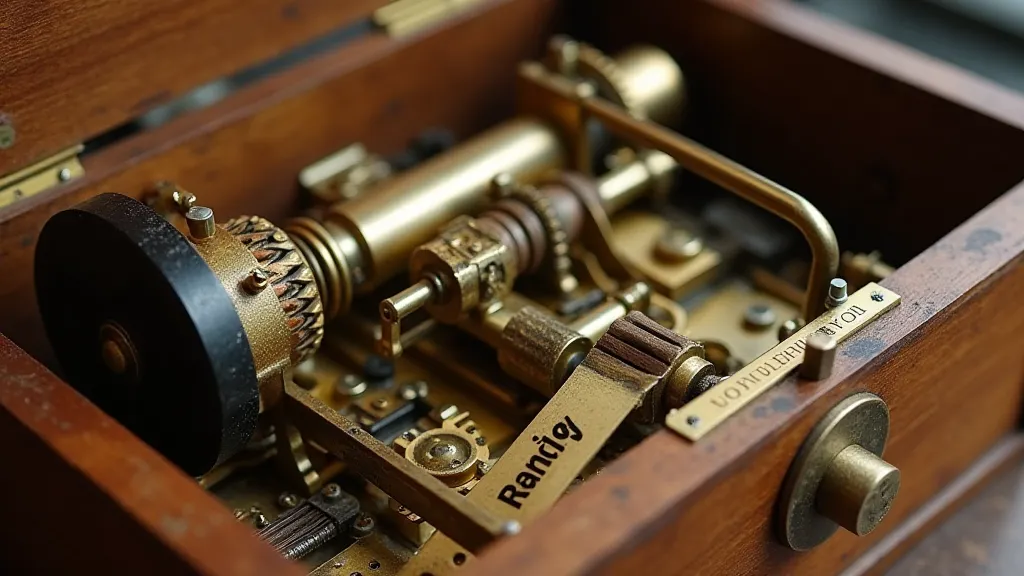
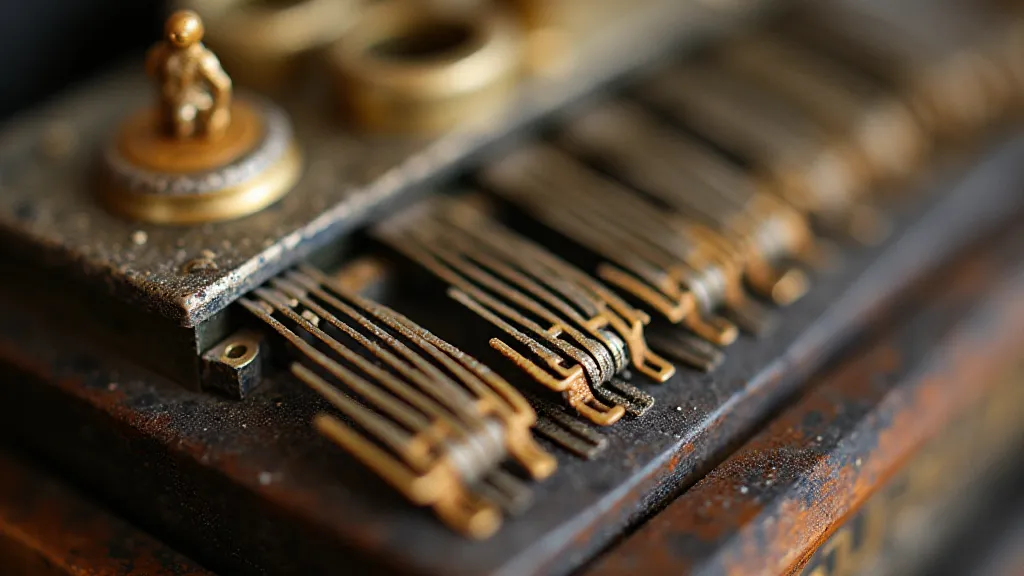
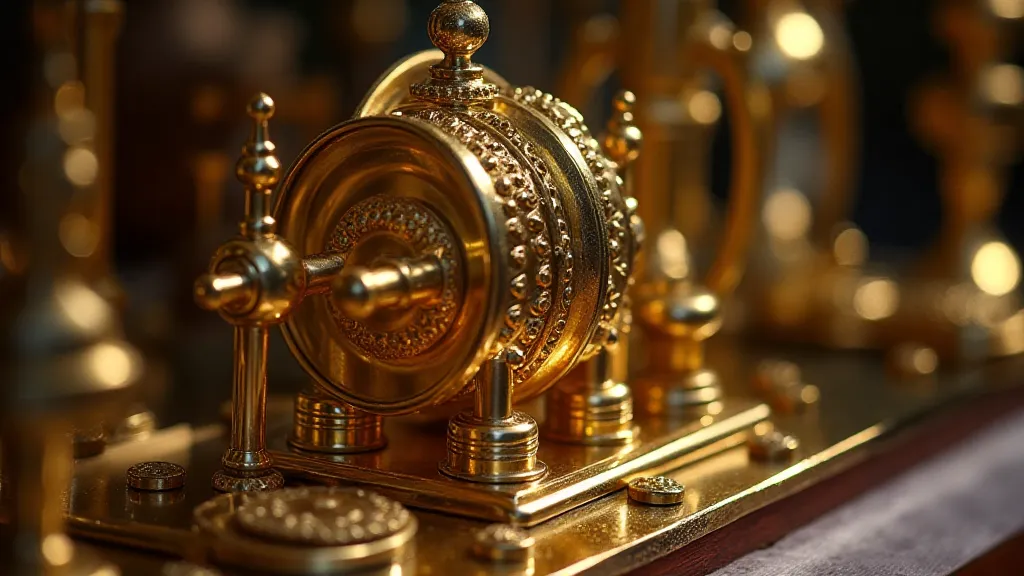
Reuge movements, especially those from the late 19th and early 20th centuries, are marvels of engineering. They utilize a pinned cylinder, which rotates to interact with a comb (or comb-like structure) to produce the music. Key components to be aware of include:
- Cylinder: The rotating pin disc that dictates the notes played.
- Comb: A series of steel teeth that vibrate to produce sound.
- Governor: Regulates the speed of the cylinder's rotation.
- Mainsprings: Provide the power to drive the mechanism.
- Transmission Gears: Connect the mainsprings to the cylinder and governor.
- Balance Wheel: Contributes to consistent speed and precision.
Before beginning any restoration, thoroughly document the music box's condition. Take detailed photographs from various angles. Make a sketch noting the position of each component – this will be invaluable during reassembly. If possible, record the music box playing (even if poorly) to preserve a memory of its original sound.
Step 1: Disassembly - Gentle is Key
Disassembly is often the most challenging part of the process. The goal is to separate the components without causing further damage. Work on a clean, well-lit surface with ample space.
- Tools: You’ll need a set of fine screwdrivers, tweezers, a pin vise, a magnifying glass (or loupe), and possibly a very thin demagnetizer.
- Start with the Exterior: Remove the external case and any decorative elements. This provides access to the movement.
- Gentle Release: Most components are held in place by friction or tiny screws. Avoid forcing anything. If a component resists, examine it carefully to find the point of attachment.
- Organized Layout: As you remove parts, arrange them in a logical order, perhaps on a small tray or in labeled containers. Photograph each stage of disassembly.
- Note Screw Sizes: Pay careful attention to screw sizes and locations. These are often non-standard and replacing them with incorrect sizes can cause significant issues.
Step 2: Cleaning – Removing Years of Grime
Years of dust, old oil, and corrosion can impede the movement's functionality. Cleaning is crucial but must be done carefully.
- Solvent Selection: Use a dedicated watch/clock cleaning solvent. Acetone and denatured alcohol can be used *with extreme caution* but can damage delicate finishes. Always test the solvent on a small, inconspicuous area first.
- Ultrasonic Cleaner (Optional): An ultrasonic cleaner is ideal for removing stubborn grime. However, use it sparingly and with appropriate settings for delicate mechanisms.
- Manual Cleaning: Use soft brushes (camel hair or similar) and cotton swabs to gently clean each component. Avoid harsh scrubbing.
- Comb Cleaning: The comb is particularly sensitive. Use extreme caution to avoid bending or damaging the teeth. A specialized comb cleaning solution may be helpful.
- Thorough Rinse: After cleaning, rinse each component with clean solvent to remove any residual cleaning agent.
Step 3: Inspection and Assessment
Once clean, thoroughly inspect each component for wear, damage, or corrosion.
- Cylinder: Examine the pins for breakage or missing pins. Check for wear on the cylinder’s surface.
- Comb: Carefully inspect each tooth for cracks, bends, or corrosion. These are very difficult to repair.
- Mainsprings: Check the mainsprings for cracks or signs of weakness. These should be replaced if suspect.
- Gears: Inspect the gear teeth for wear or damage.
- Governor: Check the governor’s balance and levers for wear or damage.
Step 4: Repair and Replacement (Where Necessary)
This is the most challenging and time-consuming step. The scope of repairs depends on the severity of the damage.
- Pin Replacement: Replacing missing or broken pins on the cylinder is extremely difficult and requires specialized tools and skills. Some restorers offer this service.
- Comb Repair: Bending a comb tooth back into shape is possible with extreme care and patience. Replacing a damaged comb is often the only viable option, but finding a suitable replacement is difficult.
- Mainspring Replacement: Replacing mainsprings is a straightforward process, but ensure you use the correct size and strength.
- Gear Repair/Replacement: Severely damaged gears may need to be replaced. Matching replacement gears can be challenging.
- Governor Adjustment: The governor’s balance may need adjustment to ensure proper speed regulation.
Step 5: Lubrication – The Essence of Smooth Operation
Proper lubrication is essential for the music box's longevity and smooth operation.
- Lubricant Selection: Use a high-quality watch/clock oil, specifically designed for delicate mechanisms.
- Targeted Application: Apply a very small amount of oil to the pivot points of gears, levers, and the cylinder. Avoid over-lubrication, as this can attract dust and hinder movement.
- Comb Lubrication: Some restorers apply a tiny amount of a specialized comb lubricant to the comb teeth, but this is a controversial practice.
Step 6: Reassembly – Patience and Precision
Reassembly is essentially the reverse of disassembly. Use your photographs and sketches as a guide.
- Start with the Foundation: Begin by reassembling the base plate and the main movement components.
- Gradual Progress: Work your way up, reattaching the gears, levers, and other components.
- Double-Check Everything: Before fully tightening any screws, double-check the alignment of the components.
- Final Adjustments: Once fully assembled, make any necessary final adjustments to the governor and other components.
Final Thoughts
Restoring a Reuge music box movement is a demanding undertaking that requires patience, skill, and a deep appreciation for the intricate mechanics involved. While this guide provides a detailed overview of the process, it’s not a substitute for hands-on experience. If you're new to watch/clock restoration, consider starting with simpler projects before tackling a Reuge movement. Good luck!